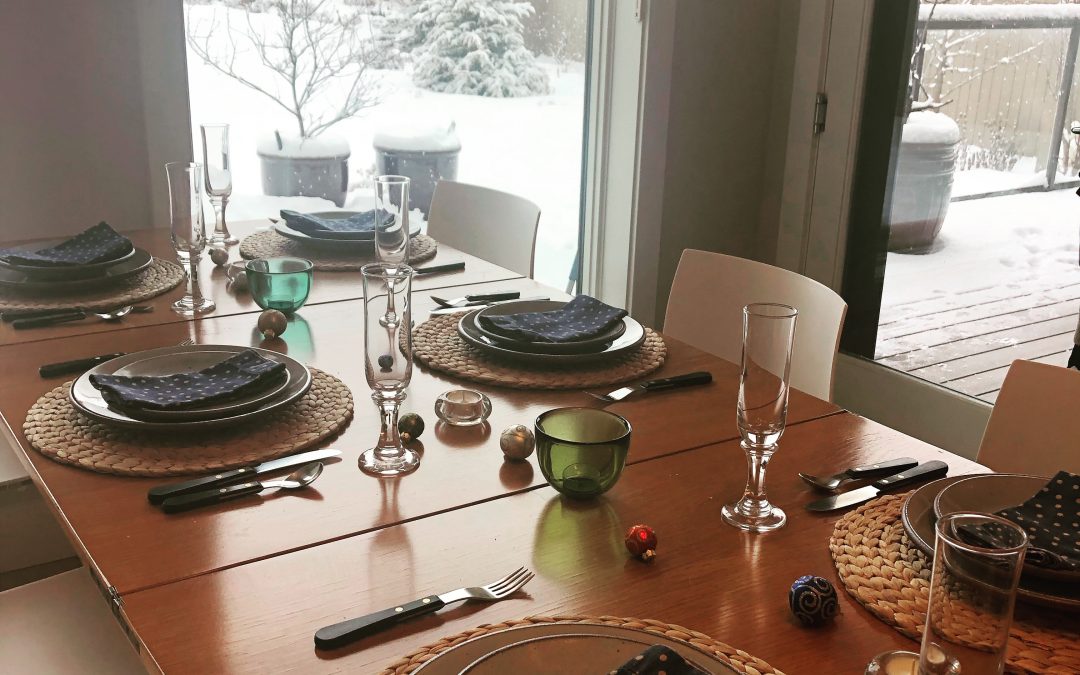
Sabina and Nathan from The Project of Now asked me to write a post about eating locally this Christmas – I got side tracked and it ended up being about, eating locally this Christmas, entertaining this Christmas and gifts for the foodie in your life – you can check out the full blog post here. The post inspired me to get my butt in gear and start writing on my own website again. I thought I’d start off by sharing a couple of Christmas recipes that link to what I talked about in the post I did for them.
Turkey (or chicken) Gravy
Gravy is one of those things – you like it the way you like it, and it’s probably what you grew up with. My family is serious about gravy, and to me it’s what makes a roast dinner. This Christmas, remember that if the gravy is piping hot, the turkey doesn’t need to be straight out of the oven. Roast your bird early, leave the meat on the bone, get your gravy done before your guests arrive, carve the bird just before eating, and heat the gravy before taking it straight to the table.
drippings from the turkey
chicken stock (about 750ml)
roux (to the consistency you want)
salt and pepper (to taste)
When your turkey (or chicken) is done, remove it from the roasting pan. Place your roasting pan on the stove and turn on the heat. Once the drippings start to bubble, deglaze your pan with about 125ml of homemade chicken stock. At this point you can pour the liquid (scrapping all of the bits) through a sieve into a pyrex jug so that he fat will come to the top, this is called degreasing. Add more stock to desired amount of gravy (being careful not to add too much and lose the flavour), bring to the boil and start to thicken with roux. Thicken to desired consistency, season with salt and pepper. Taste as you go.
Roux– Roux is made by mixing equal parts of butter and flour together. Place 110g of butter in a saucepan, melt, add the flour, stir well and cook for 2 – 3 minutes. Place into a jam jar and into the fridge once cool. Roux will keep in the fridge for weeks. Be sure to make this before Christmas day, pull it out and use a knife or a grater to break of pieces and add to your boiling liquid to thicken.
Turkey (or chicken) Stock
I could talk about the difference between homemade chicken stock and store bought for hours, it makes the world of difference in flavour, and you know exactly what’s in it and how much salt you’ve added to whatever it is you’re using the stock for. In the summer I make stock once a month, and in the winter it can be as often as once a week. I freeze it in one and a half cup and three cup quantities and use it for soups, sauces and gravy. You can make stock with raw or cooked carcasses – either is fine. One last bit on stock, homemade stock is so good for you, it is known as Jewish penicillin, and it’s one of those things that just makes you feel like it’s doing you good as you eat it.
1 turkey carcass or 2-3 raw or cooked chicken carcasses
1 onion, sliced and skin removed
1 leek, cut in half, green top removed
2 celery stalks
2 carrots, cut in half
a few parsley stalks
sprig of thyme
6 peppercorns
bay leaf
water
Chop the carcasses as much as possible. Put all of the ingredients into a saucepan and cover with cold water. Bring to the boil and skim off any surface fat with a spoon. Once the stock has come to the boil, immediately turn it down. If you let the stock boil it will become cloudy. Simmer for 3 – 5 hours. Strain and remove any remaining fat. If you need a stronger stock, reduce the stock. Do not add salt. Stock will keep in the fridge for a couple of days, or in the freezer for three months.
Tip: When you’re roasting a chicken or turkey, use the neck and add the bits and pieces you have in the pantry and fridge from this recipe to make a small batch of stock to use in your gravy. When roasting a turkey, I would always use “neck stock” for my gravy. As I roast chickens I collect necks in the freezer (that doesn’t sound creepy!), to add to my next batch of stock. You can freeze a cooked carcass if you’re not in the mood to use it right away.
“Basic ingredients are terribly important.” – Darina Allen
Pear and Ginger Cake
This recipe has been in my mum’s recipe collection for years, it is a beautiful but simple cake to make, and wows people every time!
Syrup
2 tbsp unsalted butter
4 tbsp brown sugar
2 tbsp maple syrup
½ tsp cinnamon
Butter and line a 9” spring form pan with parchment paper.
Heat the butter, brown sugar and maple syrup with the cinnamon until bubbling, pour into the pan and swirl to coat.
Pears
3 pears
½ cup white wine
½ cup water
1 cup sugar
stem ginger
Peel pears and cut into eights lengthwise and place in a small pot. Cover with wine, water and sugar. Peel ginger and slice into large pieces, place in the pot, cover the pears with a piece of parchment and bring to the simmer. Turn the heat down slightly and cook until the pears are tender, about ten minutes. Remove from the heat, drain and arrange pears, small points pointing towards the centre around the pan.
Cake
¼ cup unsalted butter, at room temperature
½ cup sugar
¾ tsp baking soda
½ cup molasses
1 ½ cups all purpose flour
½ tsp baking powder
1 tsp cinnamon
1 tsp ground ginger
¼ tsp ground cloves
¼ tsp salt
¾ cup boiling water
1 egg
¼ cup crystalized ginger, diced
Preheat the oven to 350F.
Cream together the butter and sugar. Separately combine the baking soda and molasses. In another bowl, sift flour with baking powder, spices and salt. Stir molasses into butter mixture. Add the flour mixture and boiling water alternately, mixing well after each edition. Beat in the egg, and stir in the crystalized Ginger. Scrape the batter over the pears and gently smooth the top. Bake for 35 – 40 minutes, until a cake tester inserted into the centre comes out clean. Allow to cool for 20 minutes before turning out onto a plate so the pears are on top. Serve with softly whipped cream.
Candied Peel
This recipe comes from Darina Allen’s Forgotten Skills book, one of my favourite books on my shelf! Homemade candied peel is a bit of a fiddle to make, but the flavour is far superior to that of store bought fruit. It’s worth making a batch around Christmas for cakes, desserts etc., and keeping it until Easter to use in Hot Cross Buns. You can of course make a smaller batch. When making candied peel, buy organic unwaxed fruit.
5 oranges
5 lemons
5 grapefruit
1 tsp salt
1.3 kg sugar
Cut the fruits in half and squeeze out the juice. Reserve the juice for another use such as homemade lemonade. Put the halves of fruit into a large bowl, add the salt and cover with cold water. Leave to soak for 24 hours.
Next day, discard the soaking water, put the fruit in a saucepan and cover with fresh cold water. Bring to the boil, cover and simmer very gently until the peel is soft, about 3 hours. Remove the fruit and discard the water. Scrape out any remaining flesh and membrane from inside the cut fruit, leaving white pith and rind intact. Slice the peel into large strips or leave whole if you prefer.
Dissolve the sugar in 700ml cold water, bring to the boil, add the peel, and simmer gently for 30 – 60 minutes until the peel is translucent and the syrup forms a thread. Remove the candied peel with a slotted spoon and fill into sterilised jars. Pour the syrup over the peel, cover and store in the fridge.