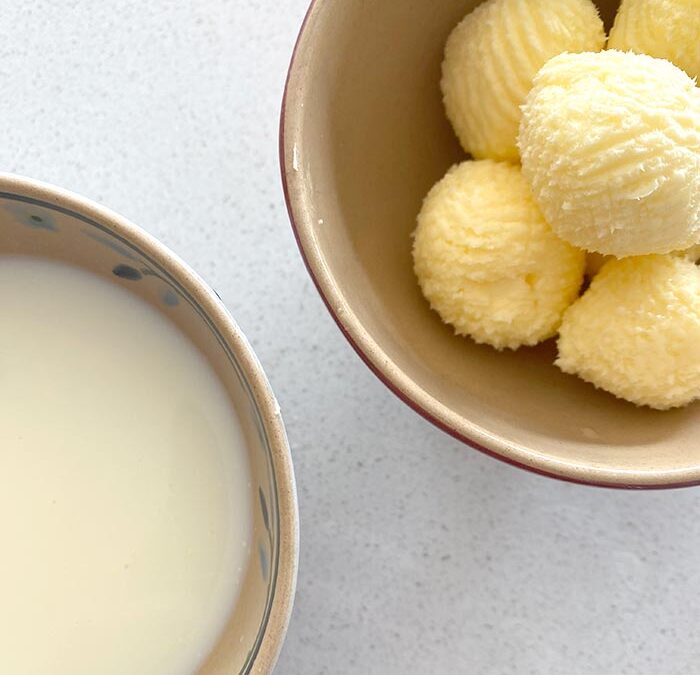
I must admit I have set out to whip cream and ended up making butter more than once – a reason I often whip cream by hand to ensure I have my eye on it! Making butter from scratch is so simple, quite satisfying and a fun thing to do with kids.
To Make Butter by Hand
good quality whipping cream
time
Fill your jar no more than to the halfway point with whipping cream. Pop the lid onto the jar – ensuring it’s on tight and start to shake. Shake some more, keep on shaking, nope you’re still not there, but you’re not doing anything wrong either, keep going! It will go from sounding and feeling like liquid to sounding more silent and will almost feel heavy. Pop the lid off throughout the process to see what’s happening – it will start to look like thick cream, then softly whipped cream, then stiffer whipped cream, then it will go grainy – you’re on your way at this stage, and eventually it will fully split. You’ll also notice through the different stages a colour change – from cream coloured to yellow butter and white buttermilk! When the butter splits, you’ll have buttermilk and butter! It takes less than 10 minutes!
Rinse the butter in cold water – until the water runs clean – this is crucial to ensure your butter lasts. Pop the butter into a fine sieve and rinse with water straight from the tap, massaging it as you do rinse, the water that comes out will first be a cloudy and eventually will start to run clean. Pop into an airtight container and store in the fridge.
To Make Butter in a Stand Mixer
the whisk attachment
a tea towel
This method is better for making larger quantities of butter. In the base of a stand mixer you can whip up to 1 litre of cream without making too much of a mess. Pour all of the cream into the stand mixer, start on low until you have softly whipped cream. Turn the mixer on high, cover with a tea towel and whisk until it splits. Watch while you do this, or you can have a mess in the kitchen. Once it hits the grainy stage, you’ll want to keep your eye on it as it will quickly split throwing buttermilk all over – the tea towel will help, but don’t say I didn’t warn you!
Rinse the butter as in the by hand method.
Salted Butter
If you wish to salt your butter, you can weigh it and add 1% salt by weight.
Buttermilk
The buttermilk you have leftover can be used to add to muffins, cakes or to make a marinade for meat to replace milk – but do keep in mind it isn’t cultured buttermilk like we can buy in the supermarkets so if the recipe calls for buttermilk you’ll want to add lemon juice.
Cultured Butter
If you want to make cultured butter which has such an incredible flavour – you can sign up for Awn Kitchen’s Bread and Butter Classes – where we dig into the world of dairy in more detail, how to ferment it and make butter that lasts longer. We also talk about compound butters which are a great thing to have in the freezer to top meat, fish or sweet treats like cinnamon buns or pancakes! You can read more about this class and our other dairy-forward classes (cheese making anyone?!) on the class schedule page.
FUN FACT: If you use a well-known brand of whipping cream your cream will be noticeably white compared to some smaller producers like Rock Ridge Dairy, Vital Greens (the only two independent dairies left in Alberta) or Avalon out of BC – these products are in fact made from just cream, where as other brands often have additives. My favourite dairy to use is Rock Ridge Dairy, it can be hard to find but both the Italian Centre and Blush Lane carry it. It’s made from dairy from Jersey cows, which reminds me of cooking school where we made butter and cheese from the dairy cows on the farm to use in the kitchens. I have been lucky enough to visit Rock Ridge Dairy where the milk and cream are processed and bottled, as well as Van Os Dairy where the Jersey cows are cared for and milked by the Van Os family.


